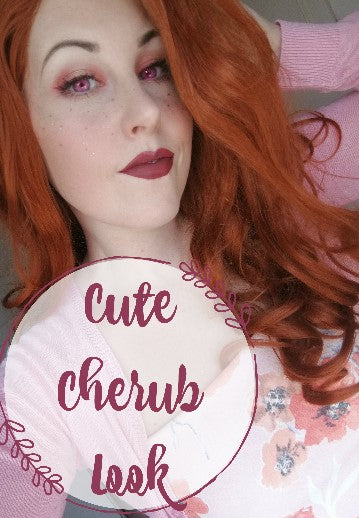
Make Up Through the Ages | The 50's
Share
Start by preparing your face with moisturiser and lip balm. This will ready the skin for other products meaning they will apply smoothly and flawlessly.
Then apply a primer with the fingertips; we love the Maybelline Baby Skin Instant Fatigue Blur primer.
Afterwards, go in with your favourite foundation, using your 'The Lynx' flat kabuki brush. We are using the Estee Lauder Double Wear Foundation in 'Fresco' for a long lasting finish.
Next, apply concealer under the eyes, down the centre of the nose, on the forehead and over any pimples and blend in with 'The Ocelot' large concealer brush.
You can then go ahead and set this with some powder - we are using the Rimmel Stay Matte Pressed Powder - and your 'The Tiger' large powder brush. This will help the makeup to stay in place all day and to stop creases.
Now, lets start work on the eyes. Using the 'Pampas Cat' brush, apply a gold shimmer shadow over the entire lid. It was popular to use just one shadow in the 50's - particularly shimmer shadows.
Let's get that Iconic wing. Taking the slanted brush end of your 'Iberian Lynx' brow brush, begin at the outer corner of the eye and drag the line up toward where your brow ends - then you know it'll be equal on both sides.
You can then go in with your 'Caracal' eye liner brush and begin to join that flick up to your lash line and toward the inner corner.
We are using the Maybelline 24 Hour Tattoo Eyeshadow for this as a gel liner, in shade 'Timeless Black'
Now, curl your lashes with the 'Eye&Mighty' curler and apply some black mascara to the upper and lower lashes.
For that full-on doe eyed look, lets apply some falsies, we love Ardells Demi Wispies. We are using our slanted tweezers from 'The Pluckers' tweezer set to keep hold of the lashes and apply them as close to the natural lash line as possible. Not only is this an easier way to apply falsies, but it is also more hygienic as your fingers wont be transferring bacteria to the lashes or your eyes.
A highly arched brow was the trend in the 50's so let's work on that.
We are using the spoolie end of our 'Iberian Lynx' brush to gently brush the brows into the desired shape and then the slanted brush end to fill them in with some brow powder. Do this with a stroke motion so that the brows still look defined, just more natural!
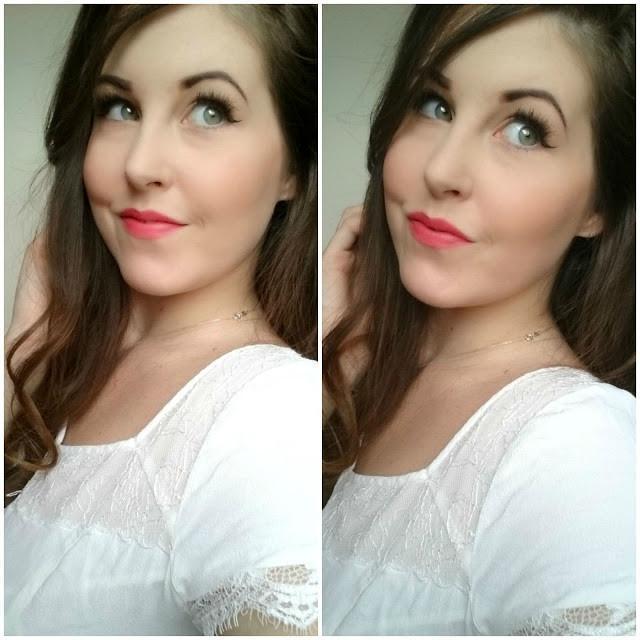
Pucker up! Its time to get that glamorous red pout.
Start by lining the lips with a lip pencil - I am enhancing the shape of my lips here to make them more voluptuous.
You can then take your 'Rusty Spotted Cat' lip brush and begin filling in your lips with your red lipstick of choice. We are using M.A.C 'Relentlessly Red' which is a gorgeous matte shade.
Finish your look by spritzing your face with some Urban Decay 'All Nighter' make up setting spray.
To get some of those 50's waves, we curled the bottom 2 thirds of our hair, let it cool and then gently brushed them through with 'The Bear' paddle brush, finishing with a delicate spritz of hairspray.
Dont forget you can buy all of the Bella & Bear products used in this tutorial in all of our stores, or in the 'Shop' tab at the top of our blog!
Let us see your recreations by tagging #bellaandbearblog in your instagram pics!