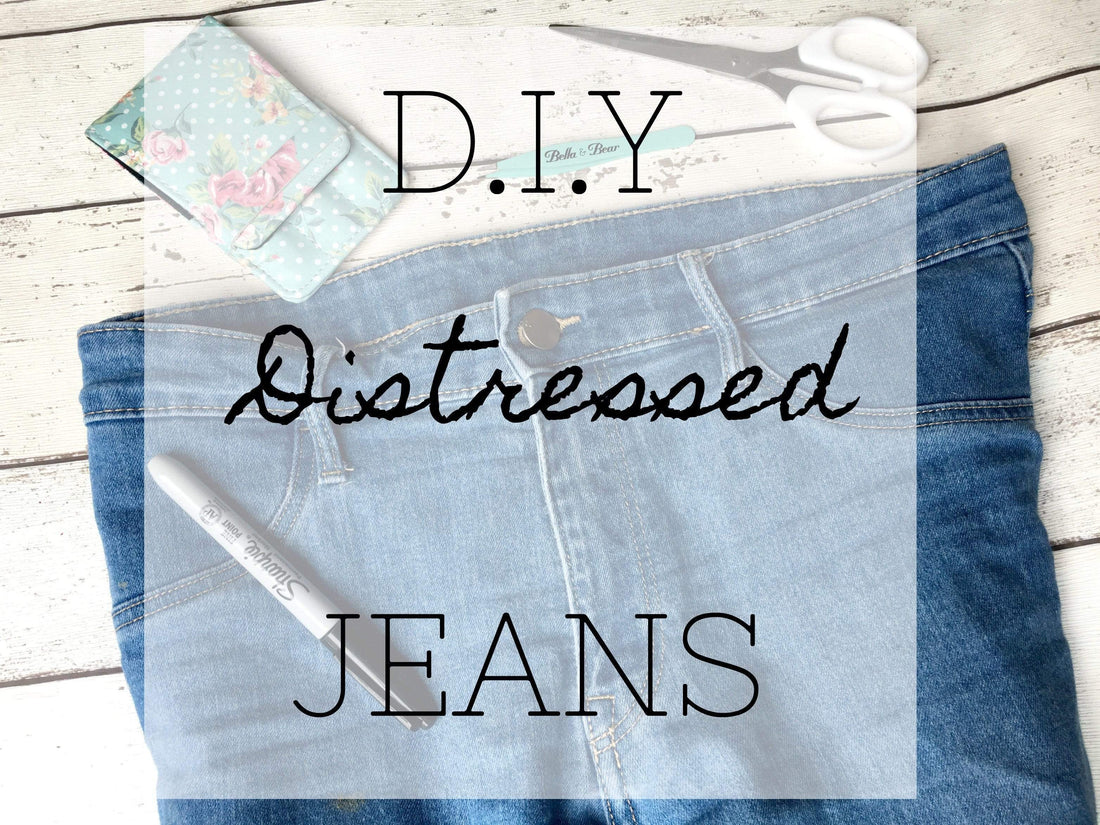
D.I.Y Distressed Jeans
Share

Ripped, frayed, shredded .... Distressed denim is hot this year, and great news! Its totally customisable!
If, like us, you have some old jeans hanging in your closet then this DIY is for you! You can create your very own distressed jeans at home and all you need is a few things that you'll already have lying about the house.

COLLECT TOGETHER;
- Your pair of jeans
- Scissors
- A Sharpie
- Bella&Bear pointed Tweezers

STEP ONE
Start by putting your jeans on and choosing where you'd like your rips to go - the knee is usually the best place to start. Use your sharpie to draw lines where you plan to cut the jeans.
If you want large rips then draw a parallel line above and below the knee line, don't worry about measuring them exactly!
STEP TWO
Now you can take your jeans off and lay them flat onto the floor. Using your scissors cut along your lines as neatly as possible - be sure to only cut the front of the jeans, not right through them.

STEP THREE
Using your Bella&Bear pointed tweezers, begin to pull at the horizontal strands of fabric left along your cut line (hint; horizontal strands are usually white while vertical ones are usually blue.), keep unravelling them all the way along the cut until it reaches the end where you can pull it out - its good to have a dish to put all your unwanted strands in.
Once all of the stray strands have been pulled out you will be able to start creating your 'shreds'. Gently pull at a new row with a horizontal strand and pull it all the way along until you reach the edge, being sure not to completely pull it out, just leaving it loose so you get the strand showing in the gap you created. You can repeat this as many times for as many rows as you want visible.
If you would rather have a straight up hole in your jeans than distressed work then keep pulling horizontal rows out completely - remember the more fabric missing the more skin showing!
You can trim the frayed vertical (blue) strands as you go along if you don't want them to be too long.
This can be quite a lengthy process so be sure to have some snacks to hand and your fave music on!

STEP FOUR
If you want a small patch of of distressed denim in the middle of a rip then begin pulling out vertical threads - you will see that we did this in a small patch over our knee. Note, though that this technique will only work on a rip with a 2 parallel cuts.
Be sure to try your jeans on every so often so you can get an idea of progress and see where you'd like more distressing to happen- we added a rip on our left thigh too. You can check out ideas for distressed jeans online to get your creativity flowing!

STEP FIVE
We decided to also distress the hems on our jeans for a cropped effect. If you'd like to do this too then pop your jeans back on and mark how short you'd like them to be - ensuring they are even. Take the jeans back off and cut them just below the line you made, you can then repeat the unravelling steps as before until you meet the lines you drew - and cut the frays to the length youd like!
We dressed our jeans up with some cute diamante fishnets and a pair of adorable frill ankle whites!
We hope you enjoyed this tutorial and we cant wait to see what you create - be sure to tag us on Insta! Don't forget you can buy your Bella&Bear pointed tweezers, as well as all of our other pieces, in our online store right now!
